配置一个Mac/iOS平台的Flutter源码调试环境
背景
最近,由于工作需要,想系统理解下Flutter是如何在MacOS/iOS平台使用OpenGL的。因为Apple早早放弃了对OpenGL的支持,导致这块坑不少,故此希望看看Flutter是怎么处理的。
下载
关于Flutter源码的下载,在之前的文章Flutter源码剖析(一):源码获取与构建 - 赵裕的博客 已经记录过,在此不作赘述。
由于Flutter在某个版本之后移除了MacOS和iOS平台的OpenGL支持(后面会详细分析下这个事情),而我又需要一个有OpenGL的版本,故而需要把源码git reset到一个比较新但又保留了OpenGL的版本,最终结果如下:
# flutter/flutter仓库
$ git checkout 3.6.0-0.0.pre # OpenGL相关代码已删除
$ git checkout 3.3.10 # OpenGL相关代码存在
$ find . -iname "ios_surface_gl.h"
./shell/platform/darwin/ios/ios_surface_gl.h
$ cat bin/internal/engine.version # flutter/engine reset到这个commit id
3316dd8728419ad3534e3f6112aa6291f587078a
至此,完成了源码的准备工作。
构建
Mac平台的构建比较简单,直接成功了,但iOS的构建一直得到以下错误:
../../third_party/abseil-cpp/absl/debugging/symbolize_darwin.inc:15:10: fatal error: 'cxxabi.h' file not found
#include <cxxabi.h>
看了下out/ios_debug_unopt/toolchain.ninja这个文件:
rule cc
  command =  ../../buildtools/mac-x64/clang/bin/clang -MD -MF ${out}.d ${defines} ${include_dirs} -isysroot /Applications/Xcode.app/Contents/Developer/Platforms/iPhoneOS.platform/Developer/SDKs/iPhoneOS16.4.sdk -miphoneos-version-min=11.0 ${cflags} ${cflags_c}  -c ${in} -o ${out}
  description = CC ${out}
  depfile = ${out}.d
  deps = gcc
rule cxx
  command =  ../../buildtools/mac-x64/clang/bin/clang++ -MD -MF ${out}.d ${defines} ${include_dirs} -isysroot /Applications/Xcode.app/Contents/Developer/Platforms/iPhoneOS.platform/Developer/SDKs/iPhoneOS16.4.sdk -miphoneos-version-min=11.0 ${cflags} ${cflags_cc}  -c ${in} -o ${out}
  description = CXX ${out}
  depfile = ${out}.d
  deps = gcc
一开始怀疑是不是 ../../buildtools/mac-x64/clang 这个工具链只能用于MacOS,iOS要用XCode的(这里是自己大脑短路了,clang本身就是支持交叉编译的)。后来对比了下out/android_debug_unopt,发现Android平台有-I../../third_party/libcxxabi/include这个路径,而iOS的构建就没有,真是见鬼了…..
这里利用编译器的能力先绕过了:
export CPLUS_INCLUDE_PATH=~/SpaceResearch/flutter_source_code/src/third_party/libcxxabi/include
至此,Flutter Engine准备好了。
查看
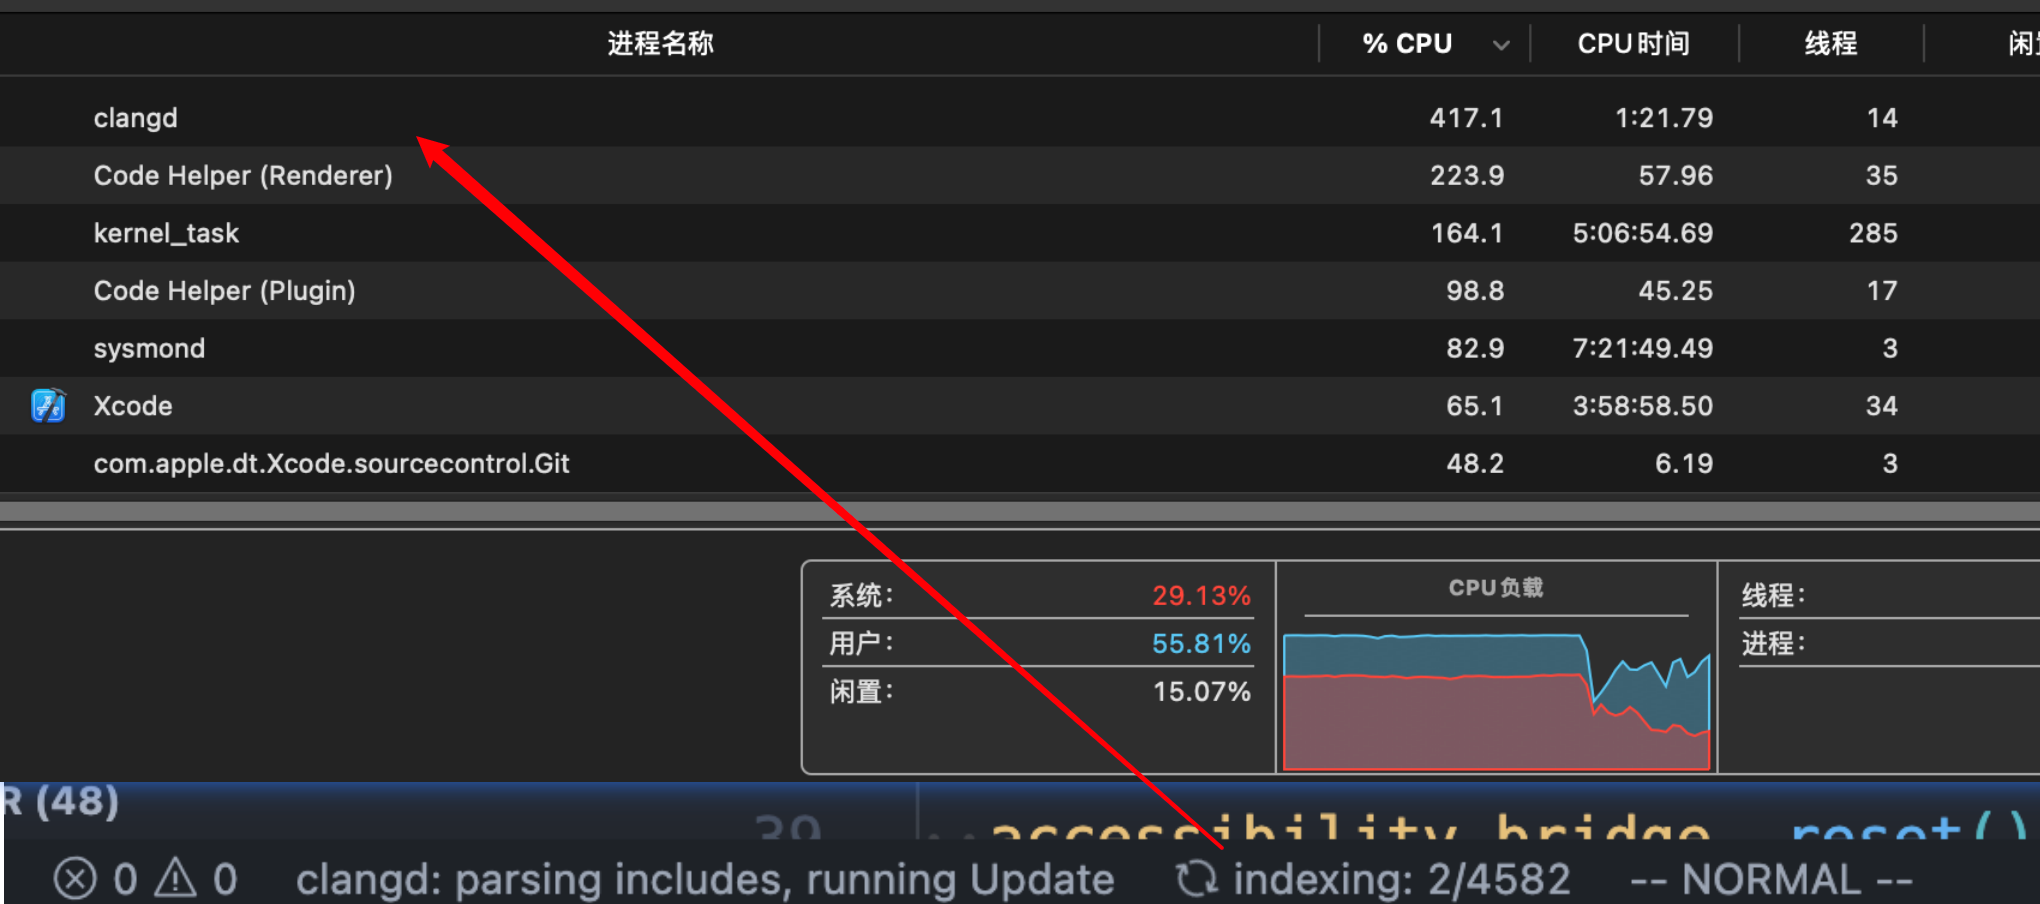
本来打算用VSCode,毕竟官方也提到了这个,但按照官方文档配置后,VSCode直接把系统都带崩了,之前在其他项目也遇到过,看来以后还是老老实实用NeoVim吧。感觉是VSCode clangd插件解析compile_commands.json的问题,NeoVim就很快,也不卡顿。

调试
MacOS
首先创建一个壳工程
./flutter/bin/flutter create flutter_demo
对于MacOS,可以用VSCode调试,也可以用XCode调试,这里用VSCode(只要不开索引,还是比XCode轻量的):
{
  "version": "0.2.0",
  "configurations": [
    {
      "name": "MacOS-Debug",
      "type": "lldb",
      "request": "launch",
      "program": "${workspaceFolder}/../flutter_demo/build/macos/Build/Products/Debug/flutter_demo.app",
      "cwd": "${workspaceFolder}",
      "preRunCommands": [
        "settings append target.exec-search-paths ${workspaceFolder}",
      ],
    }
  ],
  "sourceMap": { ".":"${workspaceFolder}" },
  "cwd": "${workspaceFolder}",
  "relativePathBase": "${workspaceFolder}"
}
注意这里target.exec-search-paths 和 sourceMap 至少要设置一个,不然设置断点会失败。
这里的制品是通过命令行构建好的,如下:
$ ../flutter/bin/flutter build --local-engine-src-path ~/SpaceResearch/flutter_source_code/src  --local-engine=host_debug_unopt macos --debug
or
$ ../flutter/bin/flutter run --local-engine-src-path ~/SpaceResearch/flutter_source_code/src  --local-engine=host_debug_unopt  -d macos
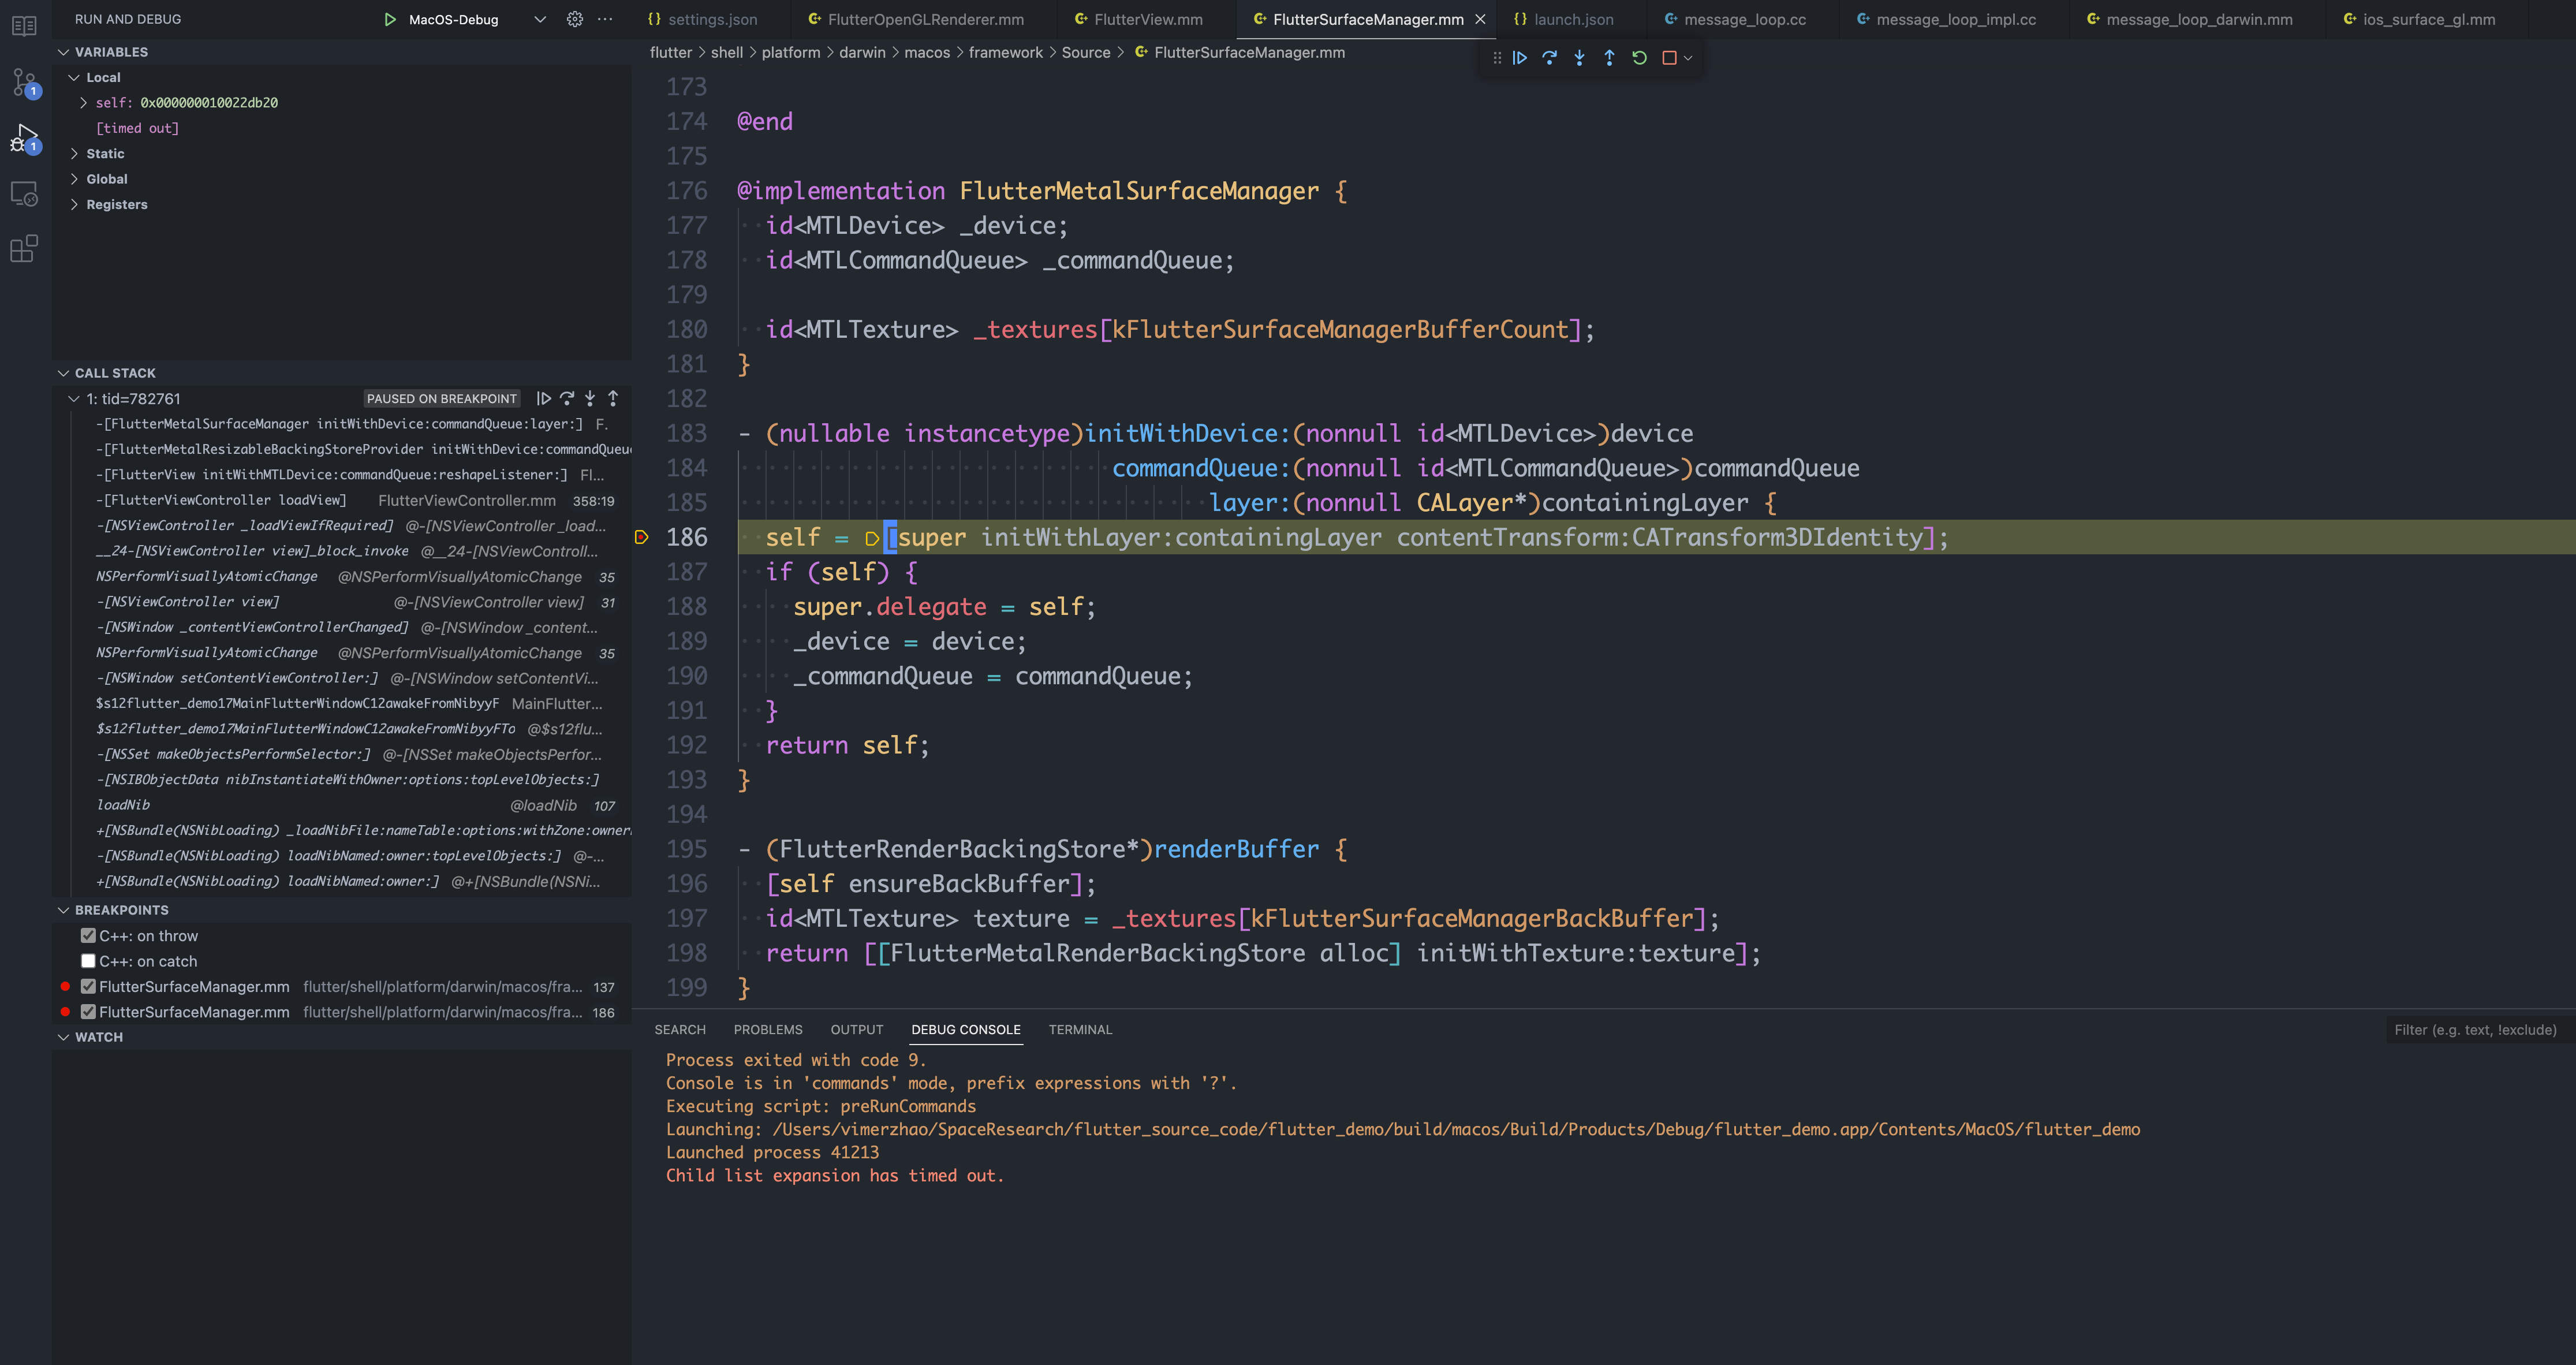
至此,就可以用VSCode的Codelldb插件调试了:

iOS
如何用VSCode调试iOS会比较麻烦,本质是要复用lldb的远程调试能力(在iOS起一个debug server)。这里可以直接利用XCode进行调试。首先构建iOS产物
# flutter build也可以
$ ../flutter/bin/flutter run --local-engine-src-path ~/SpaceResearch/flutter_source_code/src  --local-engine=ios_debug_unopt  -d 00008110-001A6C112281401E
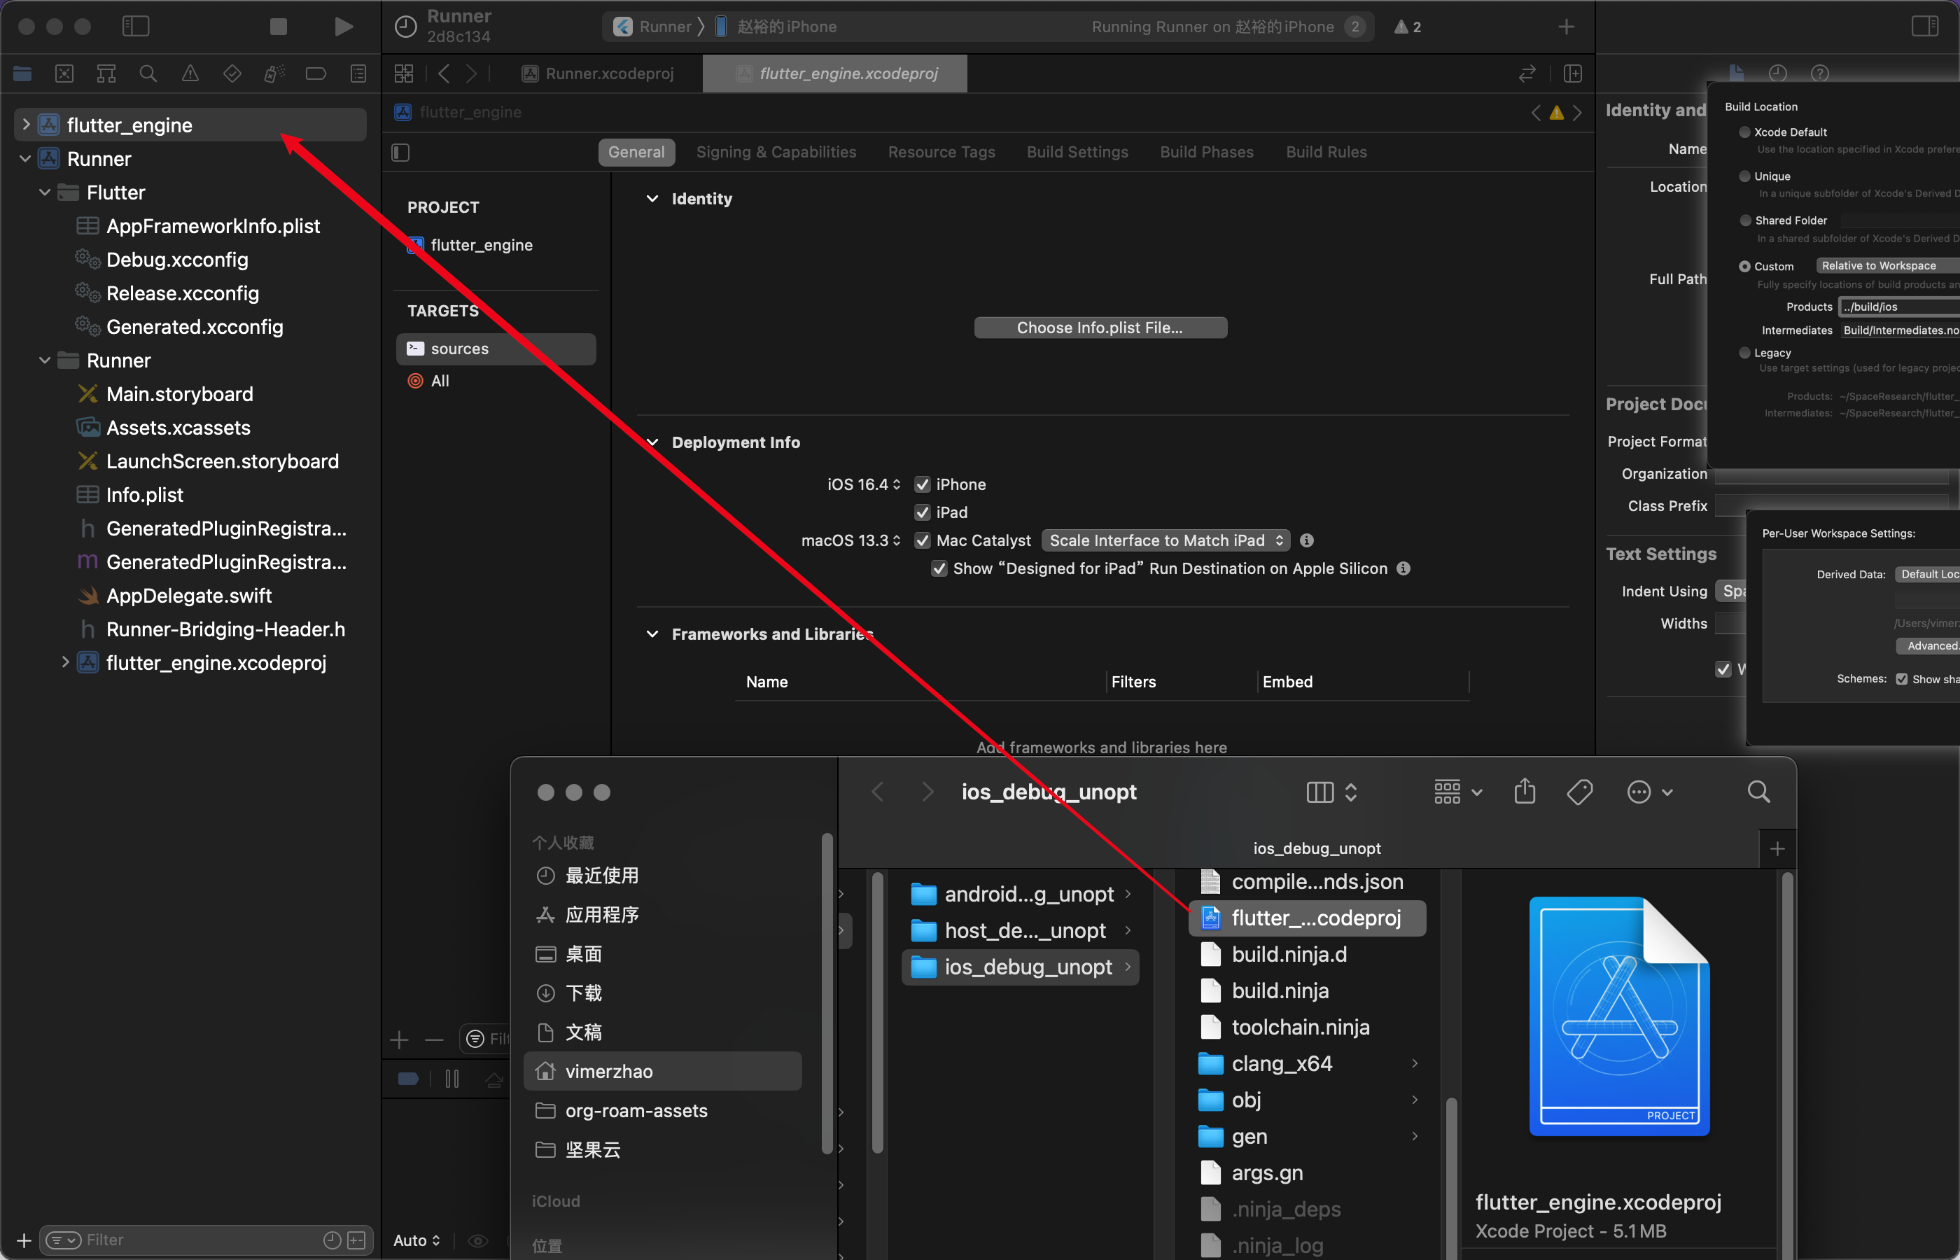
然后把out/ios_debug_unopt/flutter_engine.xcodeproj拖到XCode中:

再设置File->Workspace settings...中构建产物的位置(否则下一步会要求重编)

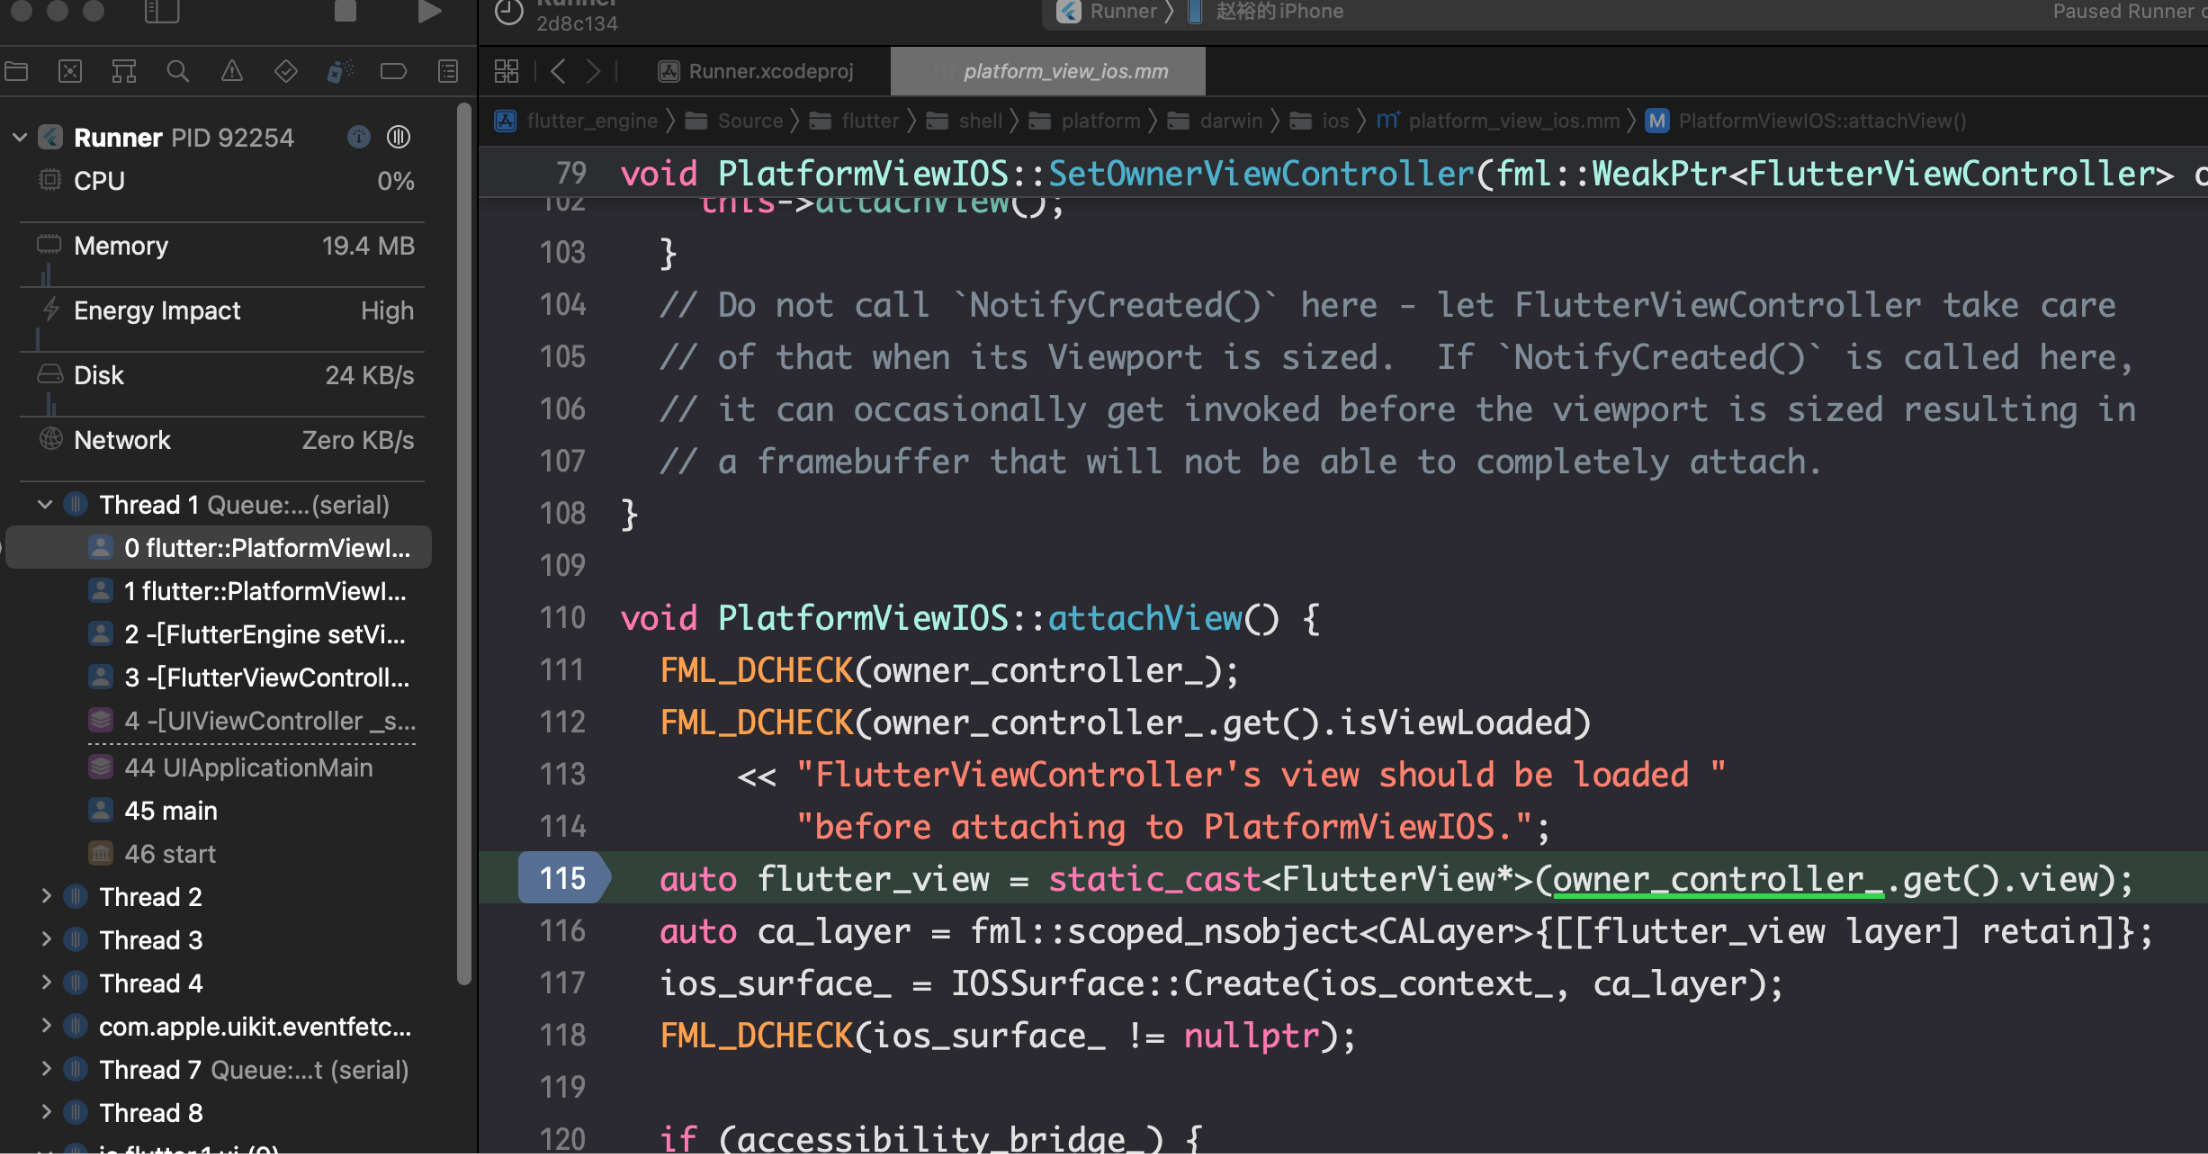
最后,通过Product->Perform Action->Run Without Building 就可以得到类似VSCode的lldb-lanuch的效果了。

这里通过命令行运行过一次后,直接打开XCode构建运行其实也是可以的,关键是flutter_demo/ios/Flutter/Generated.xcconfig这个文件要有以下配置:
......
FLUTTER_ENGINE=/Users/vimerzhao/SpaceResearch/flutter_source_code/src
LOCAL_ENGINE=ios_debug_unopt
ARCHS=arm64
......
以上,便搭建了Mac/iOS的调试环境,国庆回来后开始系统研究一番。
